Proxy management is a necessary aspect of online privacy, safety, and automation. Whether you’re an SEO professional, a web scraper, or simply someone looking to access geo-restricted content, a reliable proxy manager can make all the difference. One such tool is Proxy SwitchySharp, a Chrome extension designed to optimize the process of switching between proxies easily.
In this guide, we’ll explore how to set up and use Proxy SwitchySharp for efficient proxy switching. We’ll also discuss how Pixelscan can help you verify your proxy setup and guarantee optimal anonymity.
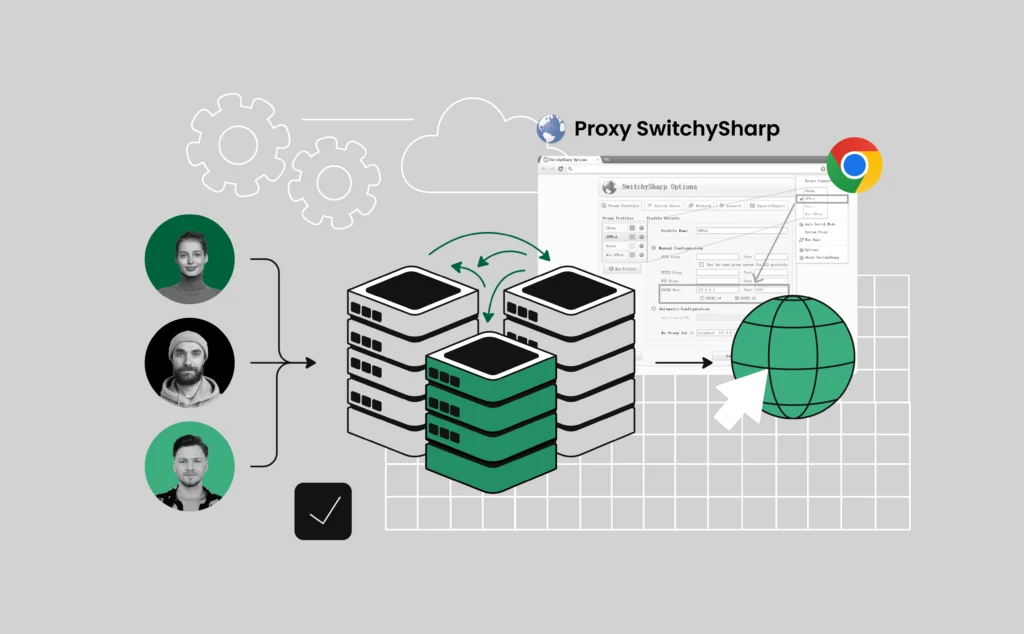
What is proxy SwitchySharp?
Proxy SwitchySharp is a Chrome browser extension that simplifies proxy configuration. It allows users to switch between different proxy servers quickly without manually adjusting browser settings. The extension is particularly useful for those who frequently use multiple proxies for tasks like:
- Web scraping
- SEO research
- Bypassing geo-restrictions
- Anonymous browsing
- Accessing localized content
- Automating online tasks
With an intuitive interface and support for various proxy types (HTTP, HTTPS, SOCKS), Proxy SwitchySharp is a go-to solution for many users looking for seamless proxy management.
Why use proxy SwitchySharp?
Proxy SwitchySharp stands out for a few key reasons:
- Ease of use: The interface is user-friendly and requires minimal configuration.
- Multiple profiles: You can create and manage different proxy profiles for various tasks.
- Flexible switching Options: Easily switch between direct connections and different proxies.
- Lightweight extension: Unlike standalone proxy software, Proxy SwitchySharp doesn’t consume system resources.
- Compatibility with Chrome: Since it is an extension, it integrates easily into the browser.
How to install proxy SwitchySharp
Before you can start using Proxy SwitchySharp, you need to install it on your Chrome browser. Follow these steps:
- Open Chrome and go to the Chrome Web Store.
- Search for Proxy SwitchySharp.
- Click on Add to Chrome and confirm the installation.
- Once installed, you’ll see the Proxy SwitchySharp icon in your browser toolbar.
Now that the extension is installed, let’s move on to setting up a proxy.
Setting up a proxy in proxy SwitchySharp
To configure a proxy in Proxy SwitchySharp, follow these steps:
- Click on the Proxy SwitchySharp icon in the Chrome toolbar.
- Select Options from the dropdown menu.
- Click New Profile and name it (e.g., “US Proxy” or “SEO Scraping”).
- Under the Manual Configuration tab, enter your proxy details:
- Proxy Server Address
- Port Number
- Authentication Credentials (if required)
- Choose the appropriate proxy protocol (HTTP, HTTPS, SOCKS4, or SOCKS5).
- Save the profile.
Once you’ve added your proxy settings, you can easily switch between different profiles with just a click.
Switching proxies with proxy SwitchySharp
Proxy SwitchySharp makes switching between proxies simple:
- Click on the Proxy SwitchySharp icon.
- Select the proxy profile you want to use.
- The extension will apply the selected proxy settings instantly.
- To revert to your normal connection, select Direct Connection or System Proxy.
How to Use Proxy Auto-Switching in Proxy SwitchySharp
Proxy SwitchySharp allows for automated proxy switching based on predefined rules. To enable auto-switching:
- Open Proxy SwitchySharp Options.
- Navigate to the Auto Switch tab.
- Add rules based on URLs, domain patterns, or connection types.
- Save your settings.
This feature is especially useful for users who require different proxies for different websites.
Testing Your Proxy Setup with Pixelscan
While Proxy SwitchySharp allows easy proxy switching, it’s necessary to verify whether your proxy is working correctly. This is where Pixelscan comes in. Pixelscan helps users check their browser fingerprint and detect potential leaks that could compromise anonymity.
Steps to test your proxy with Pixelscan:
- Go to Pixelscan.net.
- Check your IP address and browser fingerprint.
- If your real IP is exposed, adjust your proxy settings in Proxy SwitchySharp.
- Test different proxies and configurations to achieve the best anonymity.
Advanced proxy settings in proxy SwitchySharp
For users who need more control over their proxy setup, Proxy SwitchySharp offers advanced features:
- PAC script support: Allows for automatic proxy switching based on predefined rules.
- Auto switch mode: Enables dynamic proxy changes based on URL patterns.
- Bypass list: Lets you exclude specific websites from using the proxy.
- Custom proxy authentication: Allows users to input specific credentials for different proxies.
- Import/export proxy settings: Allows easy backup and transfer of proxy configurations.
Common issues and troubleshooting
Proxy not working?
- Guarantee your proxy credentials are correct.
- Check if your proxy provider’s server is active.
- Restart the browser and try again.
- Guarantee Proxy SwitchySharp has permissions enabled in Chrome.
Websites still detecting your real IP?
- Verify your setup using Pixelscan.
- Clear browser cookies and cache.
- Use a SOCKS5 proxy for enhanced anonymity.
- Allow WebRTC blocking extensions for added security.
Best practices when using proxy SwitchySharp
To maximize safety and anonymity while using proxies, follow these best practices:
- Use verified proxy providers: Avoid free proxies as they may log your data.
- Regularly change proxies: Rotating proxies can help prevent detection and bans.
- Combine proxy SwitchySharp with VPNs: This adds an extra layer of security.
- Disable WebRTC: Prevents potential IP leaks.
- Check your setup with Pixelscan: Guarantees your proxy is functioning correctly.
- Use encrypted proxies: Encrypted proxies like SOCKS5 offer better security than HTTP proxies.
- Monitor connection speed: Some proxies may slow down your browsing experience. Test different proxies to find the most efficient ones.